Friday, November 30, 2012

How to make beer 20121121

After fermenting for one more week, today we did priming and bottling.
Sanitize everything!!


1. Priming and Bottling   Add 3 priming sugars tablets into each bottle. Do not use twisting bottles. 

Then siphoned the beer into each bottle. Actually I did this step! It is quit interesting!!
Filled in each bottle to full and then capped it with a bottle capping tool.

Meanwhile, assemble another container used for againg the beer and siphoned the rest of beer into the container.


2. Againg The beer need to age for 3 weeks. During aging process, the yeast will ferment the remaining sugar and create carbon dioxide.  

Taste good!!


How to make beer 20121114

2 Weeks later from the start of fermentation, we need to transfer the mixture into a sanitizing secondary fermenting carboy 
 Sanitize everything first!!

Carfully siphoned the mixture into a secondary fermenting carboy. Do not shake for we do not want the unexpected protein and debri sedimented in the first fermenting carboy enter into the sanitizing secondary fermenting carboy. 


It seems become a custom for us to taste the "beer " at every step. Actually, everybody enjoyed it.

Reference:


How to make beer 20121031


1.       Equipment and materials
1.1    Equipment:
A Large Pot to boil
Tubing and Clamp to siphon the beer
An Airtight Glass Fermenting Carboy to keep sanitized and don’t leak
A Thermometer 
Bottles not twist-off bottles
A Bottle Capper 
Bottle Caps 
A Sanitizing solution to sanitize everything since beer is easy to be infected   
1.2    Ingredients:
Malt Extract provides substrate to which yeast will feed on to make alcohol
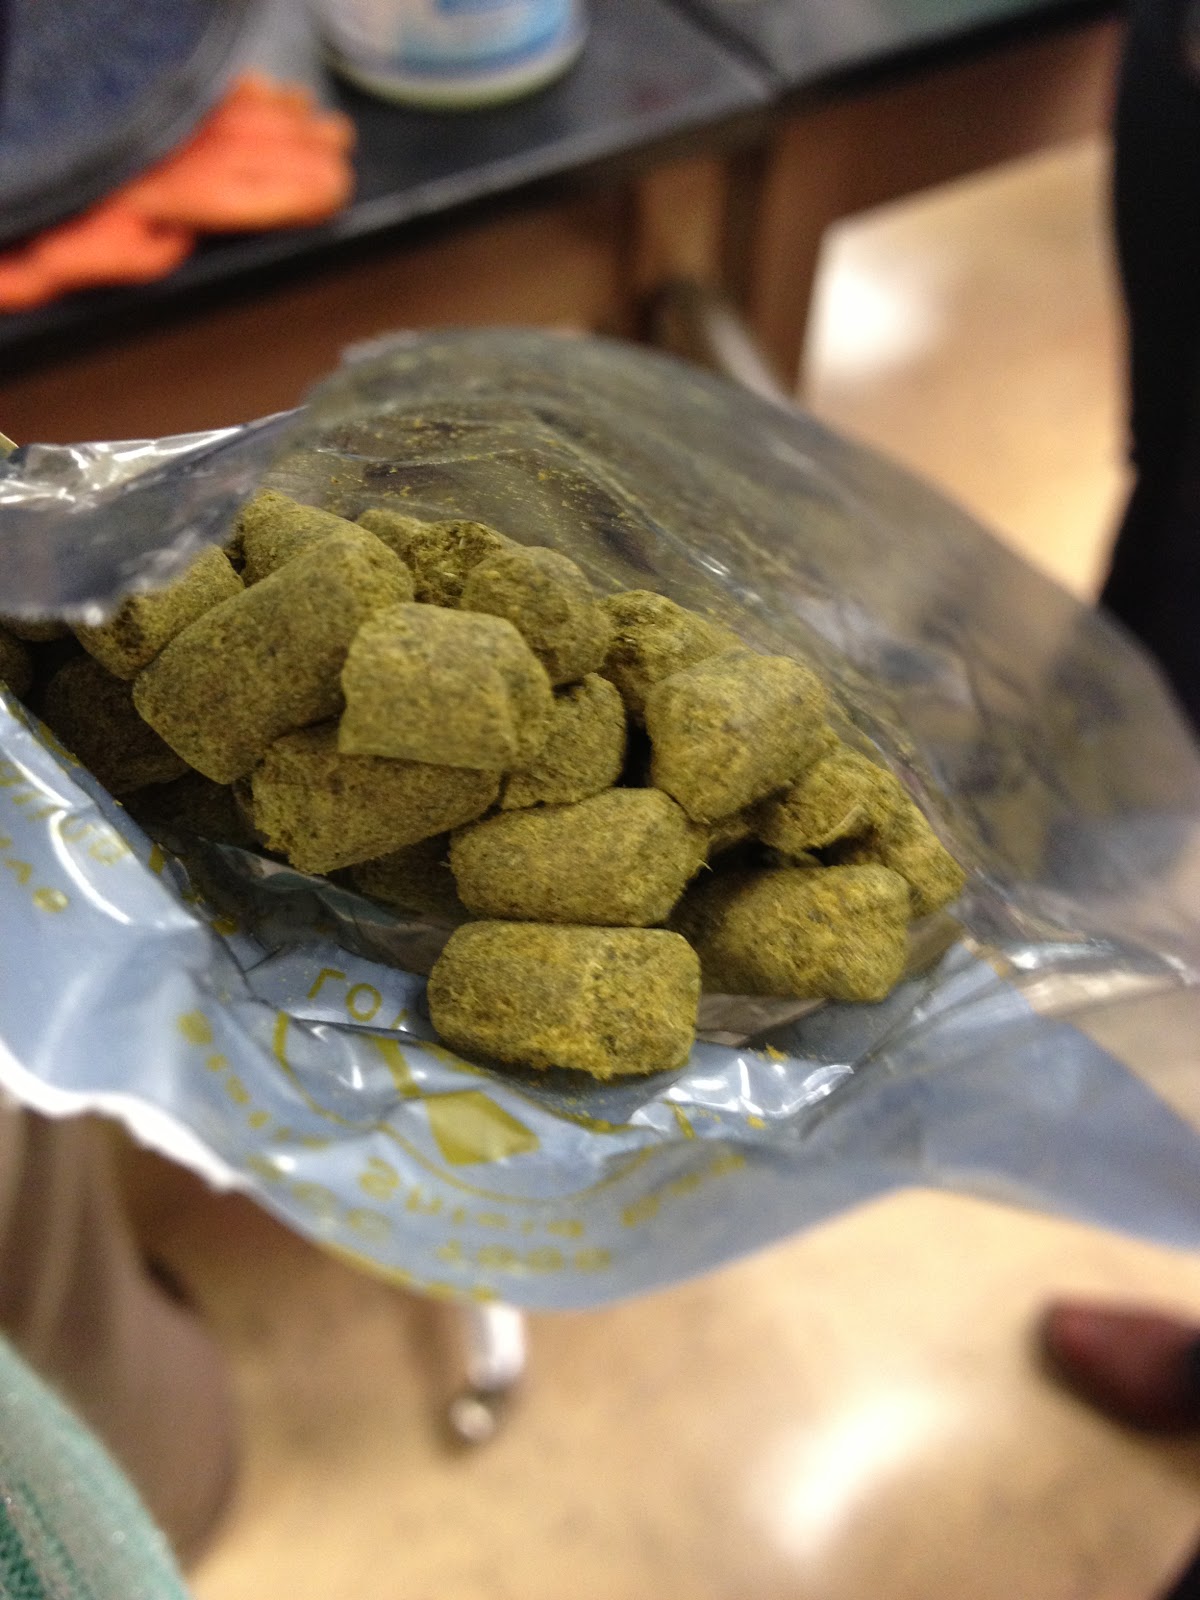
Hops add bitterness 
Liquid Yeast  
Priming Sugar like corn sugar

2.       Stages:
Sanitize Everything First!!!
2.1 Brewing Beer 
Boil the barley seeds for 25 min to add color and flavor complexity. 
Then, add 1 gallon of water , and heat until boiling. 
Add malt extract and stir to make sure it's dissolved. 
Add bittering hops for 1hr, then flavor hops for 15 min, and add the aroma hops for 5 min. 
  
2.2 Cooling and Fermenting 
Cool the wort (hot mixture) to 80F, and then transfer to the sanitized primary fermenting carboy. Add water up to 5 gallons. Measure the gravity of the wort by a hydrometer. Add the liquid yeast when the wort is cool down to 72-78F, and the fermentation process starts. Put on an airlock to keep the wort from contamination with the bacteria.
The 


2.3 Tasting 
It seems like nobody can wait for another 2 weeks to taste the beer. Actually, the wort tastes not that good and does not have alcohol at all. See everybody's facial looking when tasting the wort! How funny!!
3. Fermentation behind brewing
We also learned the pathway of glycolysis and the fermentation mechanism of brewing.

Louis Pasteur, a French chemist, is the first one to demonstrate experimentally that fermented beverages are caused by living yeast transforming glucose into ethanol. Moreover, Pasteur demonstrated that only microorganisms are capable of converting sugars into alcohol and defined it as respiration without air..
C6H12O6 → 2 C2H5OH + 2 CO2
Glucose is converted into pyruvic acid during glycolysis. When oxygen is available, pyruvic acid enters the tricarboxylic acid cycle and starts the respiratory chain. As a result of respiration, cells produce 36–38 molecules of ATP for each molecule of glucose oxidized.
In the absence of oxygen, pyruvic acid can follow two different routes. It can be converted into ethanol and carbon dioxide through the alcoholic fermentation pathway, or it can be converted into lactate through the lactic acid fermentation pathway.

Reference:


Wednesday, October 10, 2012

Lab 2 20120919

1.  Aspergillus
We learned the difference between Bisereate and Unisereate that the Bisereate has metulae on the vesicles.


1.1. Aspergillus nidulans

Pic 1 Aspergillus nidulans (bisecreate)

Pic 2 Aspergillus nidulans (unisecreate)

1.2. Aspergillus tamari

Pic 3 Aspergillus tamari (bisecreate)

Pic 4 Aspergillus tamari (unisecreate)

1.3. Aspergillus paraciticus
Pic 5 Aspergillus paraciticus

1.4. Aspergillus sojae
Pic 6 Aspergillus sojae

1.5. Aspergillus flavus
Pic 7 Aspergillus flavus

1.6. Aspergillus oryzae
Pic 8 Aspergillus oryzae


2. Mediums
2.1 1/2 PDA
Potato dextrose agar
Almost everything can grow on it.

2.2 Water agar
Only agar with low nutrient. Some fungi sporulate better under low nutritious condition. They may try to get rid of the bad conditions.

2.3 Corn meal
It is good for plant pathogen to grow.

2.4 Rose Bergal
It has red color and have to be stored in dark, containing some antibiotics.
It is good for samples collected from the soil.

Lab 3 20120918


1. Riddell Mount:
Last week, we learned an important mount method: riddell mount.
Microscopic preparations are essential for an accurate identification of an organism. However, fungi that have delicate sporing structures are easily disturbed upon removal.
Compared to squash mount and tape mount, slide culture is a better method, which involves growing the fungus on a plug of agar, which is resting on a coverslip; the coverslip can then be mounted directly onto a microscope slide.
The obvious drawback of this method is the short life span of the fungus because of the limited nutrient source.


 Pic 1 Riddell Mount of Aspergillus flavus

Pic 2 Riddell Mount of Aspergillus niger

2. Phytophtrora infesta 
2.1 Phytophtrora infesta sporangiaphore

Pic 3 Phytophtrora infesta sporangiaphore
2.2 Phytophtrora infesta zoospore


Video Phytophtrora infesta zoospore

From the video, we can see the movement of zoospores. However, I didn't see the clearly about the mophology of the zoospores.

This mount got contamination unfortunately....

Lab 1 20120905


1. Tips for using microscope
Keep in mind that whenever we should transport the microscope gently with 2 hands holding it and use the body to support it too.

2. Mounts type:
Squash mounts: Add a drop of water on the glasses. Use sterilized scapel to cut a small piece of agar with colonies on it. Put a cover slide and then squash the agar gently. It is easier to observe the spores since the outside force push the fungi release spores.
Tape mounts: when we want to see the intact fungal structure, like sporophore, it is better to use tape mount by just using the tape contact with the hyphal structure on the plate gently. Then, put the piece of tape on the glass slide with a drop a water on it. By using tape mounts, you can save the intact structue but we have to handle it really gently.

Other ways:
We can even put the agar directly on the slides.
We can also use the innoculating needle to pick a small amount of colonies and suspend in the water, then cover with cover slide, but do not let the cover slide sit on the colonies directly by putting small pieces of glasses on the glass to support the cover slide in order to leave some space for the fungi and keep the intact structure.

3. Have a general review of fungal world
3.1 Alternaria brassicicola
 Pic 1 Aspergillus conidia chain


Pic 2 Aspergillus conidia

3.2 Cladospsorium Sp. 
Pic 3 Cladospsorium Sp. (Upper: squash mount, Lower: tape mount)

With squash mount, I can see the hyphal fragment.
With the tape mount, I can see the intact structure of Cladospsorium Sp. conidiaphore.


Pic 4 Cladospsorium Sp. conidiaphore

3.3 Thielaviopsis bassiola 
Thielaviopsis bassiola has 2 types of asexual spores: phialospore (endospores) and aleuriospore(chlamydospores). Chlamydospores are produced in chains (two to eight spores per chain). The dark, thick walled chlamydospores separate at maturity and each cell is capable of germination.
Endoconidia are produced in greater numbers than the chlamydospores. These spores are variable in size with slightly rounded ends. The septae hyphae are hyaline at first and become pigmented with age.  A sexual state has not been observed with T. basicola. 

Pic 5 Thkelaviopsis bassicola conidiaphore

3.4 Pythium ultimum (oomycete)
 Pic 6 Pythium ultimum

Pic 7 Oogonium (female)

The oogonium after fertilization will turn into oospore (thick wall)

4. Hemocytometer
We can first dilute the spore suspension to a certain concentration and then use trypan blue to stain the fungi and then count on Hemocytometer under microscope.

Lab is about having fun!


See how professional we are!
Sorry for the picture of Danny~~
Sorry for Sheila was not there that day~
Anybody wants his or her picture, just let me know your email address.

Have fun!